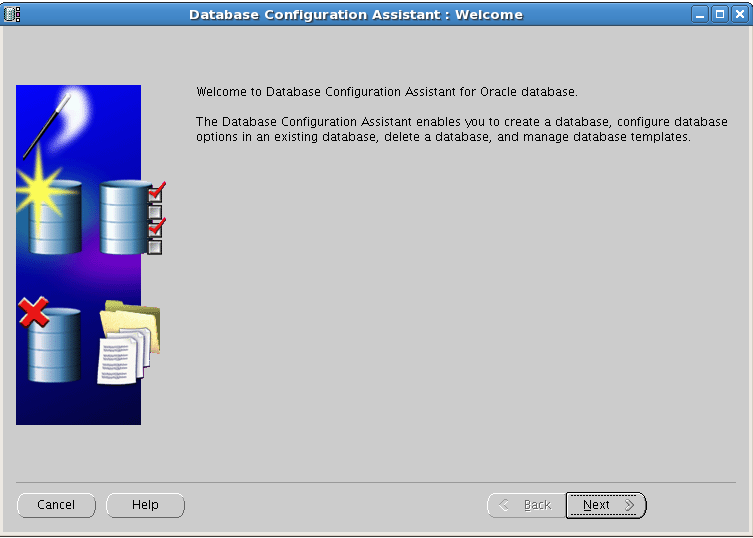
This post assumes that you have already installed RHEL5.(Cento OS 5 or Oracle Linux 5 can also be used for this purpose.) This installation is done with 2 Gb of swap space. SELINUX and Firewall should be disabled on the server. Server IP Address : 192.168.1.100 Configure the "hostname" for the machine. vi /etc/sysconfig/network -- Change the "HOSTNAME" value. -- here is my sample network file. NETWORKING=yes NETWORKING_IPV6=no HOSTNAME=canada Define Network Alias in the "/etc/hosts" file. --sample hosts file 127.0.0.1 localhost.localdomain localhost 192.168.1.100 canada canada Activate the settings by restarting the system. init 6 1) Add groups by executing the following commands. groupadd oinstall groupadd dba groupadd oper groupadd asmadmin 2) Then we will add user oracle with primary group oinstall & secondary group dba,oper,asmadmin. useradd -g oinstall -G dba,oper,asmadmin oracle 3) Assign password to the Oracle user. passwd oracle 4) Make appropriate directory structure. mkdir -p /u01/app/oracle/product/11.2.0/db_1 5) Assign the owner and group for that folder. chown -R oracle:oinstall /u01 6) Give permissions to the folder. chmod -R 775 /u01 7) Set Kernel parameters by adding or updating the following parameters to the "/etc/sysctl.conf" file. fs.suid_dumpable = 1 fs.aio-max-nr = 1048576 fs.file-max = 6815744 kernel.shmall = 2097152 kernel.shmmax = 536870912 kernel.shmmni = 4096 # semaphores: semmsl, semmns, semopm, semmni kernel.sem = 250 32000 100 128 net.ipv4.ip_local_port_range = 9000 65500 net.core.rmem_default=4194304 net.core.rmem_max=4194304 net.core.wmem_default=262144 net.core.wmem_max=1048586 8) Execute the following command to change the kernel settings. /sbin/sysctl -p 9) Add the following lines to the "/etc/security/limits.conf" file. oracle soft nproc 2047 oracle hard nproc 16384 oracle soft nofile 4096 oracle hard nofile 65536 oracle soft stack 10240 10) Configure "YUM" and Install required rpms. binutils-2.* compat-libstdc++-33* compat-libstdc++-33*.i386.rpm elfutils-libelf* gcc-4.* gcc-c++-4.* glibc-2.* glibc-common-2.* glibc-devel-2.* glibc-headers-2.* ksh* libaio-0.* libaio-devel-0.* libgomp-4.* libgcc-4.* libstdc++-4.* libstdc++-devel-4.* make-3.* sysstat-7.* unixODBC-2.* unixODBC-devel-2.* numactl-devel-* 11) Configure the X Server, So that the oracle user can access it for software installation. xhost + 12) Switch to oracle user.If you are using X emulation then set the DISPLAY environmental variable. DISPLAY=:0.0; export DISPLAY su - oracle 13) Insert the following parameters to the ".bash_profile" file. # Oracle Settings TMP=/tmp; export TMP TMPDIR=$TMP; export TMPDIR ORACLE_HOSTNAME=canada; export ORACLE_HOSTNAME ORACLE_UNQNAME=orcl; export ORACLE_UNQNAME ORACLE_BASE=/u01/app/oracle; export ORACLE_BASE ORACLE_HOME=$ORACLE_BASE/product/11.2.0/db_1; export ORACLE_HOME ORACLE_SID=DB11G; export ORACLE_SID PATH=/usr/sbin:$PATH; export PATH PATH=$ORACLE_HOME/bin:$PATH; export PATH LD_LIBRARY_PATH=$ORACLE_HOME/lib:/lib:/usr/lib; export LD_LIBRARY_PATH CLASSPATH=$ORACLE_HOME/jlib:$ORACLE_HOME/rdbms/jlib; export CLASSPATH 14) Reload the bash profile to change the settings. . ./.bash_profile 15) As the oracle user make a directory for staging. mkdir -p /u01/soft 16) Copy and unzip the Oracle database files to the above created folder as Oracle user. unzip linux.x64_11gR2_database_1of2.zip unzip linux.x64_11gR2_database_2of2.zip 17) Go to the new created folder named "database" and start installation. cd /u01/soft/database ./runInstaller In the end execute the scripts mentioned as the "root" user.At this point your oracle software installation is complete. Database creation steps.1) As root user execute the following command. xhost + 2) switch to oracle user. su - oracle 3) create a listener. --sample listener file. # listener.ora Network Configuration File: /u01/app/oracle/product/11.2.0/db_1/network/admin/listener.ora # Generated by Oracle configuration tools. LISTENER = (DESCRIPTION = (ADDRESS = (PROTOCOL = TCP)(HOST = delhi)(PORT = 1521)) ) ADR_BASE_LISTENER = /u01/app/oracle 4) start the listener. $ lsnrctl start 5) Launch dbca. $ dbcawhen the database installation is complete note down the address for the enterprise manager. Sequence for shutdown of database services. $ export ORACLE_SID=orcl $ emctl stop dbconsole $ lsnrctl stop $ sqlplus / as sysdba SQL> shutdown immediate Sequence for startup of database services. $ export ORACLE_SID=orcl $ lsnrctl start $ sqlplus / as sysdba SQL> startup SQL> exit $ export ORACLE_SID=orcl $ emctl start dbconsole
Thursday, March 8, 2012
Oracle Database 11g Release 2 (11.2) Installation On RedHat Enterprise Linux 5.


Subscribe to:
Post Comments (Atom)
Thanks. This article help me out
ReplyDelete